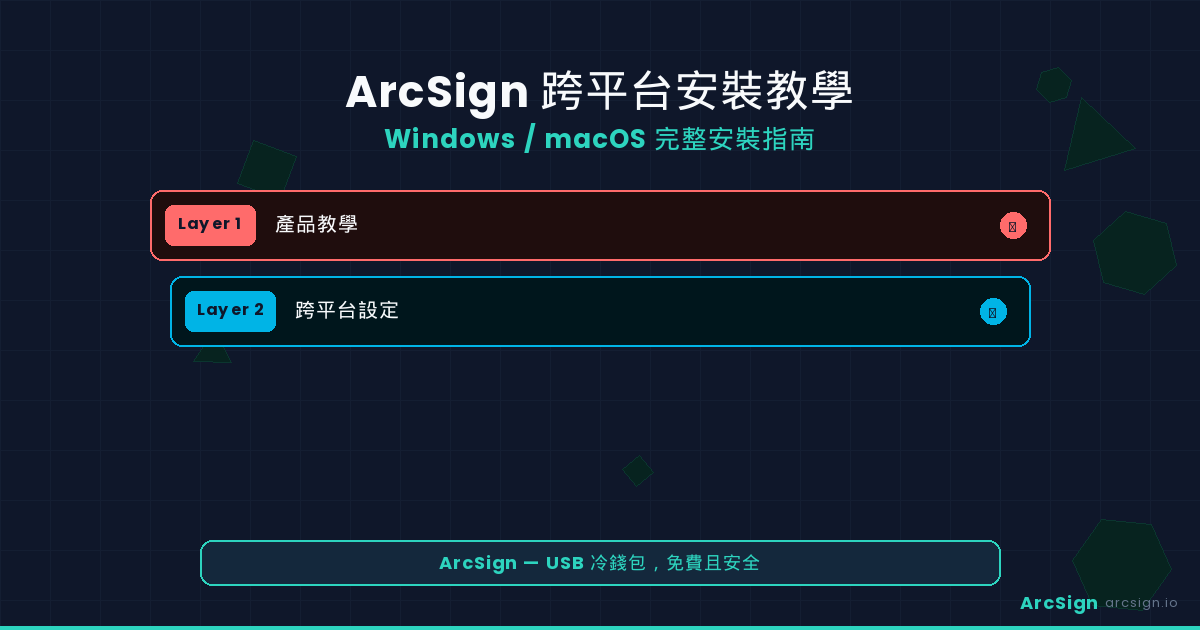
Quick Start
Get ArcSign running in 10 minutes. Download from github.com/arcsignio/arcsign/releases, run the installer, and you’ll have a fully operational USB cold wallet ready to secure your crypto across 7 EVM chains.
System Requirements
Before installing ArcSign, ensure your system meets these minimum requirements:
✓ Operating System
Windows: Windows 10 (Build 19041) or later, Windows 11, Windows Server 2019+ | macOS: macOS 12 (Monterey) or later
✓ Hardware
Any modern computer with USB 2.0 or higher port. 8GB RAM recommended. Intel or Apple Silicon (M1/M2/M3) fully supported on macOS.
✓ Storage
Minimum 200MB of free disk space for the ArcSign installation. Additional space needed for backup files and the .arcsign encrypted wallet backup.
✓ USB Device
One dedicated USB drive (USB 2.0 or higher) for cold storage. We recommend a hardware wallet-grade USB or encrypted external drive for maximum security.
✓ Internet
Required only during setup and wallet operations. ArcSign creates signed transactions offline on your USB device, then you broadcast them online separately.
Windows Installation (10, 11, Server 2019+)
Follow these steps to install ArcSign on your Windows machine. The entire process takes less than 5 minutes.
1. Download ArcSign Installer
Visit github.com/arcsignio/arcsign/releases and download the latest Windows installer (.exe file). Your browser may show a security warning—this is normal. ArcSign is digitally signed by our development team and is completely safe. Save the file to your Downloads folder.
2. Handle Windows SmartScreen (if prompted)
Windows Defender SmartScreen may flag the installer as an unknown app. Click “More info” and then “Run anyway”. This is common for new applications that haven’t accumulated a large install history yet. ArcSign is cryptographically signed and safe to run.
3. Run the Installer
Double-click the ArcSign installer (.exe). A setup wizard will appear. Accept the license agreement and choose your installation directory (default: C:\Program Files\ArcSign). Click “Install” to proceed.
4. Complete Installation
The installer will copy files and create desktop shortcuts. Once complete, you’ll see a confirmation message. Optionally check “Launch ArcSign” to start the app immediately, or close the installer and launch from your Start Menu.
macOS Installation (12+)
Installing ArcSign on macOS is straightforward. Follow these steps for a smooth setup.
1. Download ArcSign DMG
Go to github.com/arcsignio/arcsign/releases and download the latest macOS installer (.dmg file). This works on both Intel and Apple Silicon (M1/M2/M3) Macs. Save the file to your Downloads folder.
2. Open the DMG File
Double-click the downloaded ArcSign.dmg file. A Finder window will appear showing the ArcSign application icon and a shortcut to the Applications folder.
3. Drag to Applications
Drag the ArcSign icon into the Applications folder (visible in the DMG window). This will copy ArcSign to your system Applications directory, making it available from Spotlight and Launchpad.
4. Handle Gatekeeper Security (if prompted)
The first time you launch ArcSign, macOS Gatekeeper may ask if you want to open it. This is a standard macOS security check. Click “Open” to proceed. ArcSign is notarized by Apple and is completely safe.
5. Launch ArcSign
Navigate to Applications, find ArcSign, and double-click to launch. You can also use Spotlight (Cmd+Space) to search for “ArcSign” and press Enter to open it. Pin it to your Dock for quick access.
First Launch & Wallet Setup
After installation, you’ll launch ArcSign for the first time. Here’s what to expect and what to do next.
Step 1: Welcome Screen
When ArcSign opens, you’ll see the welcome screen with two options: “Create New Wallet” or “Import Existing Wallet”. If this is your first time using ArcSign, click “Create New Wallet”. If you’ve used ArcSign before and have an encrypted .arcsign backup file, select “Import Existing Wallet”.
Step 2: Plug In Your USB Device
Insert your dedicated USB drive into an available USB port. ArcSign will detect it automatically. The app will prompt you to confirm the USB device where your private keys and wallet data will be stored. Double-check that you’ve selected the correct USB drive—this is critical. Once confirmed, ArcSign will initialize the USB with the necessary wallet structure.
Step 3: Secure Your Wallet with a PIN
Create a strong, memorable PIN (8-16 digits recommended). This PIN protects your wallet on the USB device. Write it down in a safe location—if you forget it, you’ll need to re-import your wallet from a backup. ArcSign uses industry-standard encryption to protect your PIN and keys.
Step 4: Backup Your Wallet
ArcSign will prompt you to create an encrypted backup file (.arcsign). This file is automatically encrypted with AES-256—there’s no additional password step. Download and save this file to a secure location (cloud storage, separate USB drive, or encrypted disk). This backup allows you to restore your wallet if your primary USB is lost or corrupted.
Step 5 (Optional): Set Up Your Provider (Alchemy)
Your wallet balances already load with no setup—since v1.5.0 ArcSign reads them via built-in public RPC plus Multicall3 and free DefiLlama prices. This optional step only adds the NFT gallery and transaction history. Continue to the next section if you want those.
Alchemy API Key Setup (Optional — NFT & Transaction History only)
Token balances need no API key—they work out of the box. You only need an Alchemy key to display the NFT gallery and transaction history, which require full-chain indexing. The free tier is sufficient for personal use.
Create an Alchemy Account
1. Sign Up for Free
Visit alchemy.com and click “Get Started Free”. You’ll need an email address. Complete the signup process and verify your email.
2. Create an App
Log in to your Alchemy dashboard. Click “Create new app”. Choose a name (e.g., “ArcSign Wallet”), and select the networks you want to track (Ethereum, Polygon, Arbitrum, Optimism, Base). The free tier supports all major EVM chains. BSC uses NodeReal (its own free key); Avalanche uses Glacier, which is keyless (anonymous tier).
3. Copy Your API Key
Once your app is created, locate the “API Key” section in your app settings. Click the copy button to copy your full API key to the clipboard.
4. Paste into ArcSign
Return to ArcSign and navigate to Settings → Providers. Select Alchemy and paste your API key into the input field. Click “Save” to activate the provider. ArcSign will immediately start populating your NFT gallery and transaction history (balances were already loading without it).
Security Note
Your Alchemy API key is stored locally on your device (on your USB). ArcSign never transmits your private keys to Alchemy or any external service. The API key only enables read-only access to your wallet data on the blockchain.
Troubleshooting Common Issues
Issue: SmartScreen Warning on Windows
Symptom: Windows Defender SmartScreen blocks the ArcSign installer and shows “Windows protected your PC” message.
Solution: Click “More info” on the SmartScreen popup, then click “Run anyway”. This is normal for new applications. ArcSign is digitally signed by our development team and is completely safe. You can verify the publisher by checking the file properties.
Issue: Gatekeeper Warning on macOS
Symptom: macOS shows “ArcSign can’t be opened because it is from an unidentified developer” message.
Solution: Right-click the ArcSign icon in Applications, then select “Open”. When the Gatekeeper dialog appears, click “Open” again. ArcSign is notarized by Apple, so subsequent launches won’t show this warning. Alternatively, you can grant ArcSign execution permission through System Preferences → Security & Privacy.
Issue: USB Device Not Detected
Symptom: ArcSign doesn’t show your USB drive when you plug it in.
Solution: Try these steps in order: (1) Unplug the USB and wait 5 seconds, then plug it back in. (2) Try a different USB port, preferably directly on your computer’s motherboard rather than a hub. (3) Restart ArcSign. (4) If using Windows, check Device Manager to ensure the USB is recognized. If using macOS, open Disk Utility and verify the USB appears there.
Issue: Antivirus Blocks Installation
Symptom: Your antivirus software blocks or deletes the ArcSign installer.
Solution: This is a false positive. ArcSign is safe and tested. Temporarily disable your antivirus during installation, or add ArcSign to your antivirus whitelist. Download ArcSign only from the official github.com/arcsignio/arcsign/releases domain to ensure you have the authentic installer.
Issue: Alchemy API Not Working
Symptom: The NFT gallery or transaction history stays empty, or you see “Provider error” messages in ArcSign. (Balances are keyless and unaffected—if those show 0, just pull to refresh or import the token.)
Solution: (1) Verify your Alchemy API key is correct by comparing it in ArcSign settings with the key in your Alchemy dashboard. (2) Ensure your Alchemy free tier account is active and hasn’t reached rate limits. (3) Try removing the API key and re-adding it. (4) Check your internet connection.
Issue: Application Crashes on Launch
Symptom: ArcSign crashes or closes immediately after opening.
Solution: (1) Uninstall ArcSign completely and reinstall the latest version from github.com/arcsignio/arcsign/releases. (2) Ensure your operating system is fully updated. (3) Check that your system meets the minimum requirements (Windows 10+ or macOS 12+). (4) If the issue persists, report it with your system details on our support channel.
Windows vs macOS Comparison
While ArcSign Provides the same core functionality on both platforms, there are some technical differences to be aware of:
| Feature | Windows | macOS |
|---|---|---|
| Minimum OS Version | Windows 10 Build 19041+ | macOS 12+ |
| Installation Method | .exe installer with wizard | .dmg drag-to-Applications |
| Security Gate | Windows SmartScreen | macOS Gatekeeper |
| Memory Protection | ✓ mlock | ✓ mlock |
| Private Key Exposure | 1-5ms max | 1-5ms max |
| XOR 3-Shard Protection | ✓ Yes | ✓ Yes |
| Supported Chains | 7 EVM chains | 7 EVM chains |
| WalletConnect v2 | ✓ Yes | ✓ Yes |
| DEX Swap (OpenOcean + KyberSwap) | ✓ Yes | ✓ Yes |
| Token Approval Management | ✓ Yes | ✓ Yes |
| NFT Gallery (ERC721/1155) | ✓ Yes | ✓ Yes |
| DeFi Position Tracking | ✓ stETH, ankrETH, ankrBNB | ✓ stETH, ankrETH, ankrBNB |
| Encrypted .arcsign Backup | ✓ AES-256 | ✓ AES-256 |
| Cross-Platform Restore | ✓ Yes (Windows ↔ macOS) | ✓ Yes (Windows ↔ macOS) |
| Cost | ✓ Free | ✓ Free |
Key Takeaway: ArcSign Provides identical security and functionality on both Windows and macOS. The primary difference is the installation method and the operating system’s security verification process (SmartScreen vs Gatekeeper).
Frequently Asked Questions
Is ArcSign completely free to use?
Yes, ArcSign is completely free to download and use. There are no subscription fees or hidden costs. The software is provided as-is, with no charges for wallet creation, transaction signing, or basic features. Balances work out of the box with no account at all; a free Alchemy account is only needed if you want the optional NFT gallery and transaction history, and it doesn’t require payment for personal use.
Why do I need an Alchemy API key?
For balances, you don’t—since v1.5.0 ArcSign reads token balances via built-in public RPC plus Multicall3 and free DefiLlama prices, with no key and no setup. An Alchemy key is only needed for the NFT gallery and transaction history, which require full-chain indexing that public RPC can’t do (Alchemy covers Ethereum/Polygon/Arbitrum/Optimism/Base; BSC uses NodeReal; Avalanche is keyless via Glacier). None of this ever touches your private keys—it only reads public blockchain data on your behalf. The free tiers are more than enough for personal use.
What if my antivirus blocks the ArcSign installation?
ArcSign is digitally signed and safe. Antivirus software sometimes flags new applications as suspicious because they haven’t accumulated a large install history yet. If this happens, whitelist ArcSign in your antivirus settings or temporarily disable scanning during installation. Always verify you’re downloading from the official github.com/arcsignio/arcsign/releases URL to ensure you have the authentic installer.
Can I use the same .arcsign backup file on both Windows and macOS?
Yes, absolutely. The .arcsign encrypted backup file is cross-platform. You can create your wallet on Windows, export the encrypted backup, then import it on macOS (or vice versa). This makes ArcSign perfect for multi-device workflows. Your private keys and wallet settings are preserved exactly, and all your token balances and NFTs will sync to the new platform.